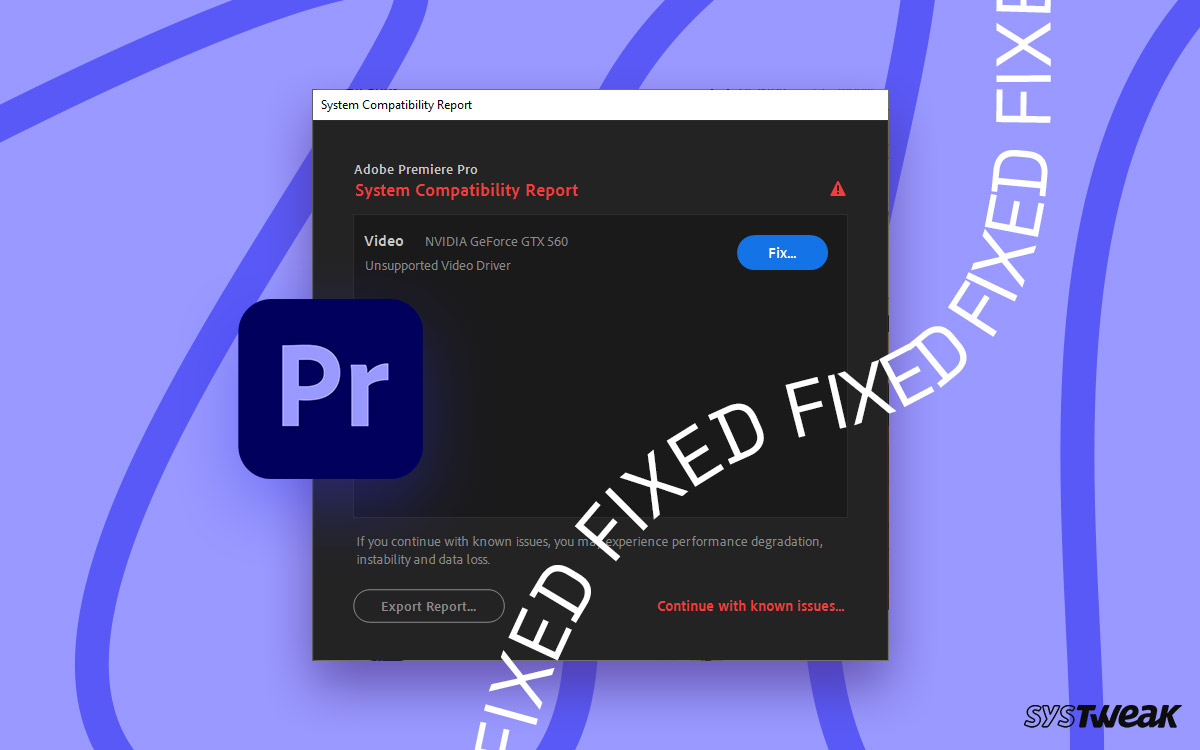
Unsupported video driver error is a common issue that Premiere Pro users experience. Usually, it appears when the GPU in use is unsupported by the tool or cannot match its minimum requirements. Outdated GPU drivers are often responsible for the issue as well.
However, there are other factors to consider when you know you have a GPU that can handle heavy video rendering, but the unsupported video driver error still appears. What are those factors? For starters, the GPU you selected plays a crucial role. Whether you use a dedicated or integrated GPU is another question that makes the difference.
But the most important aspect here is knowing ways to help get rid of the Premiere Pro unsupported video driver error from your Windows PC. In this post, let us look at some of those methods and resolve the error DIY style!
Let’s begin!
What Happens When Premiere Pro Unsupported Video Driver Error Occurs
This error is non-fatal as it does not stop you from using the application. You get the error on launching Premiere Pro, but an option allows you to ignore it and move ahead with the tool. The only issue here is that the tool’s performance may not be at par after you have ignored the error. You may face rendering issues, stuttering, and other common problems while using Premiere Pro.
Keep in mind that instead of ignoring the error, you should try to get rid of it. If you know that you are using a GPU that may not be able to handle the application or is unsupported, the upgrade is due. You may ignore the error to use the application until you make that upgrade.
However, if you have a GPU that should have no issues handling Premiere Pro and still have the Premiere Pro unsupported video driver error, keep reading to find the ultimate solution.
Working Ways to Fix Premiere Pro Unsupported Video Driver Error
Before we begin with the troubleshooting, the first thing you should do is ensure that your PC meets the requirements to run Premiere Pro. It is quite a heavy application, as professionals use it for video editing. The resources it requires are given as follows –
Minimum and recommended system requirements for Windows
| Minimum | Recommended | |
| Processor | Intel® 6th Generation or newer CPU – or AMD Ryzen™ 1000 Series or newer CPU
Advanced Vector Extensions 2 (AVX2) Support required Note: it is not possible to install the 24.0 versions on Intel® 3rd Generation of processors or older (as well as older AMD processors). |
Intel® 11th Generation or newer CPU with Quick Sync – or AMD Ryzen™ 3000 Series / Threadripper 2000 series or newer CPU |
| Operating system | Windows 10 (64-bit) V20H2 or later | Windows 10 (64-bit) version 22H2 (or later) or Windows 11. |
| Memory | 8 GB of RAM | 16 GB of RAM for HD media
32 GB or more for 4K and higher |
| GPU | 2 GB of GPU memory | 4 GB of GPU memory for HD and some 4K media
6 GB or more for 4K and higher |
| Storage | 8 GB of available hard disk space for installation; additional free space required during installation (will not install on removable flash storage)
Additional high-speed drive for media |
Fast internal SSD for app installation and cache
Additional high-speed drive(s) for media |
| Display | 1920 x 1080 | 1920 x 1080 or greater
DisplayHDR 1000 for HDR workflows |
| Sound card | ASIO compatible or Microsoft Windows Driver Model | ASIO compatible or Microsoft Windows Driver Model |
| Network storage connection | 1 Gigabit Ethernet (HD only)
10 Gigabit ethernet for 4K shared network workflow |
Source – helpx.adobe.com
For more information on the same, you may visit – https://helpx.adobe.com/premiere-pro/system-requirements.html
If your PC meets the requirements and you still have the error, you should try the following methods to fix the error.
Fix 1 – Update GPU Drivers
The first thing you should sort is your GPU. Since the video driver is causing the error, you should take it on priority and update it. An outdated driver can cause several problems on your PC, including errors like Premiere Pro unsupported video driver error. Having a video driver that is not up to the mark can make your capable GPU incapable of performing better.
Now, if you know how to update drivers on your PC, you may be familiar with the tedious steps one must take every time. And in case you are unaware of it, you have a lot of steps to learn and remember. As far as the manual method for updating a driver is concerned, you have to –
Step 1 – Go to the Device Manager. (Use the start menu to search for Device Manager and hit enter).

Step 2 – Identify your Display Adapter that may be causing the issue and select it.

Step 3 – Right-click on the same to find the Update Driver option. 
Step 4 – After using the Update Driver option, the Windows Driver Update Utility is launched.
Step 5 – Select the Automatic option in the prompt to move forward. Simply follow the instructions on the screen to finish the process.
The same 5 steps should be performed for integrated and dedicated GPU drivers.
It is a lot of work to finish. This is also why many users prefer using the Advanced Driver Updater, a tool that automatically finds, fetches, and installs the updates for all the outdated drivers on your PC.
All you have to do is –
Step 1 – Download the tool and install it on your PC.
Step 2 – Use the Start Scan Now button to find outdated drivers.

Step 3 – After the tool finds the list of outdated drivers on your PC, click the Update All button, and the tool will do the rest.

Update the drivers and restart your PC. Launch Premiere Pro on your PC, and the unsupported video driver error should be resolved now.
Fix 2 – Choose the Dedicated GPU to Run Premiere Pro
You must prioritize heavy processes like the Premiere Pro and allow your dedicated GPU to run the application. Usually, the integrated graphics unit is not highly capable, which may cause issues such as the unsupported video driver. To avoid that and yield high performance from Premiere Pro, make sure it uses the correct and capable GPU.
Here’s how you do it –
Step 1 – Press Win+I to open the system settings.
Step 2 – In System Settings, spot the Display option and open it.

Step 3 – Scroll down to the Related Settings section and click on Graphics.

Step 4 – Select Premiere Pro and click on it to find the Options button.
Step 5 – Choose the High-Performance configuration to use your dedicated GPU as the default video driver.

If you cannot find Premiere Pro in the list, simply click on Browse and navigate to the .exe file to launch Premiere Pro. Add it to the list and then perform the steps above. 
Set the application to your dedicated GPU, and the Premiere Pro Unsupported Video Driver Error should be resolved on your PC.
Read Also: A D3D11 Compatible GPU is Required to Run the Engine – FIXED!
Fix 3 – Stop the Unsupported Video Driver Error Prompt from Settings
In case you have realized that the error appears but there is no impact on the performance, or you know that the GPU you are using is not up to the mark, but you are waiting to upgrade and do not want the error to appear again and again, this fix is for you.
Step 1 – Launch Premiere Pro on PC.
Step 2 – Go to the Edit Menu
Step 3 – Choose Preferences and click on the General section.
Step 4 – Unmark the Show system compatibility issues at the startup checkbox.
Remember that this will stop the prompt from occurring again; however, this will not mean the issue is resolved. Also, this may stop you from being notified of other issues that may arise on the app, so beware.
Other than these fixes, ensure that you are using the updated version of the Premiere Pro, and that there are no pending system updates. That will be all for this post. If you cannot fix the Premiere Pro unsupported video driver error after these fixes, let us know your exact issue in the comments, and we will try to help you.
Thanks for reading. Good luck!
Recommended :


