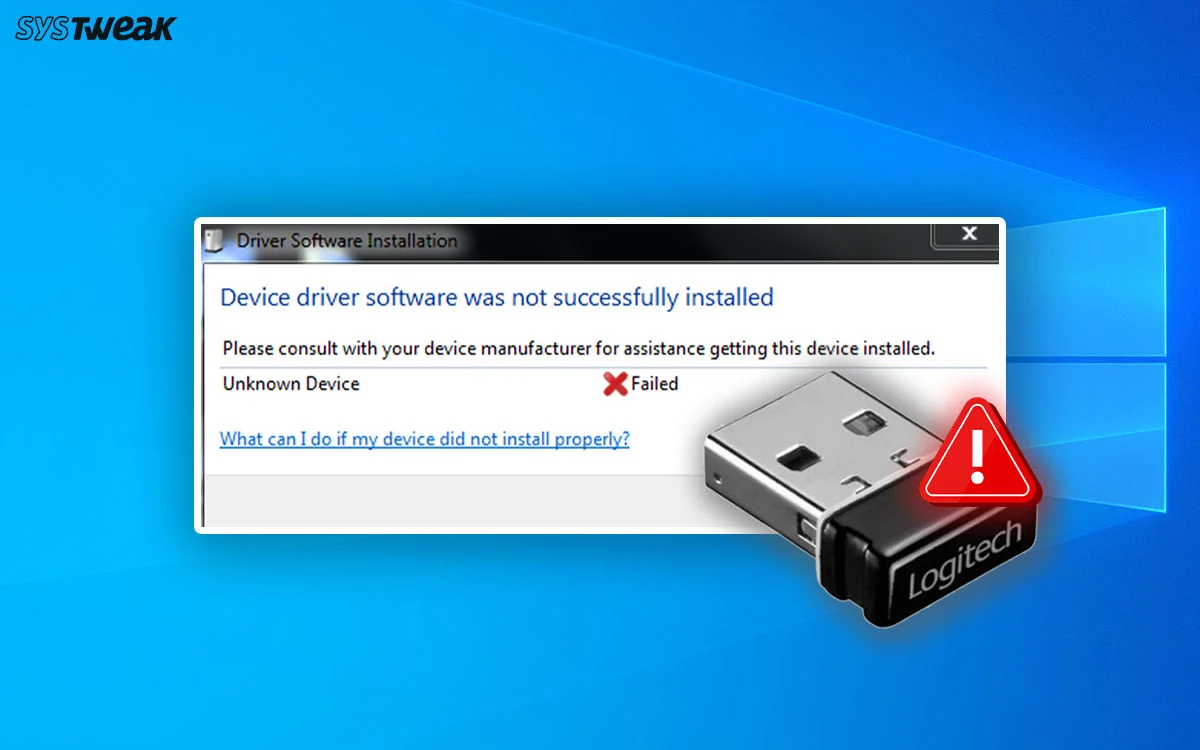
The Logitech unifying receiver is the ultimate way of using multiple input devices like mice and keyboards on your PC. It makes interacting with multiple input devices in different settings easy. However, when you plug in your Logitech unifying receiver and you face the error Device driver software was not successfully installed, it is annoying.
In this blog, we’ll explain different ways to fix the issues and how to keep the Logitech unifying receiver driver updated.
Reasons for Logitech Unifying Receiver Not Working
- Downloading and installing Windows Update KB4074588, which has a bug that causes the issue with Logitech unifying receiver.
- Corrupt driver
- Connection errors
Also Read: Logitech G HUB Not Loading on Windows 11
Ways to Download Logitech Unifying Software on Windows 10/11
The Logitech unifying software is the ultimate driver for all the devices you connect. In most cases, when the receiver is connected, it automatically installs the driver. However, some devices require you to download the driver manually.
However, before we get into details, let’s look at ways to download and install the Logitech unifying software on your Windows PC.
For New Users:
If you recently bought the Logitech unifying receiver, all you have to do is –
- Plug in the receiver on your PC and remove all other input device receivers.
- Launch the Utility wizard you can find on your PC.
- Follow the instructions to add devices to the unifying utility software.
- Once the installation is complete, you are good to go.
These are basic steps that you can use to set up your Logitech unifying software and receiver. That means when the receiver is plugged in, it automatically installs the drivers too!
For Old Users
If you are an existing unifying receiver user facing an issue with the software or the device drivers, follow these steps:
- Visit here to find the latest version of the Logitech unifying software.
- Download the setup and install the software.

- If the issue is limited to software, this should solve it for you.
However, the error “the Logitech unifying receiver not detected” might still pop up due to malfunctioning drivers on your PC.
To fix it you will need to download and update drivers for the unifying system.
Visit Also: Logitech Gamepad F310 Failed to Install Drivers
Fix – Logitech Unifying Receiver Not Detected
When the receiver drivers are not properly installed or updated, the Unifying receiver is not detected is the most common error you may face. To fix this error on Windows 10 or 11, follow these methods –
Prerequisites Before Going to Technical Methods
- Reboot Your Computer to ensure this is not a temporary glitch.
- Verify the USB port is working properly where the Unifying receiver is plugged in. You can do this by plugging another USB device in the same port, like a Flash Drive, and ensure it is working.

- Use another USB port at the back of your PC.
- Try to manually pair the device using the Logitech Unifying Software.
- If you have access to a different PC, then try using this Unifying Receiver on another PC to check if it’s working fine.
- Reinstall Logi Options+ from the official website to ensure a new updated version is installed on your PC.
Read Also : Problem Ejecting USB Mass Storage Device on Windows – [Solved]
Method 1 – Copy the Driver Files From Another PC
If the issue appears only on your PC, you should try troubleshooting the problem by getting driver files from a PC where the receiver is working fine. Yes, copying the files will help, provided you have admin rights on your PC. Here’s how you can do it!
- On a PC where the receiver is working, go to the given destination in Windows Explorer – C:\Windows\inf\ i
- At this destination, you will find two files named usb.inf and usb.PNF

- Copy these files from the PC and then paste them on yours where the unifying receiver was not detected. Make sure you paste the file at the same destination as mentioned above.
If you get the message to replace files, select it to overwrite the old files.
- Restart the PC after finishing all the steps and re-connect the unifying receiver.
- Check whether it works or not. In most cases, it works well.
Method 2 – Run Unifying Receiver as Administrator Using Device Manager
For this technique, you require admin rights. To solve the issue for someone else, you must be logged in as an admin. Disable the current input device drivers you have installed, download and run the Logitech unifying software as admin and let it install the required drivers.
Here are the steps you need to follow –
- Press Windows + X to bring up the quick access menu.
- Click on Device Manager to open the device manager wizard.
- In the wizard, double-click Human Interface Devices, find the connected device > right click > Disable.
- If you can’t find the connected device under Human Interface Devices > double-click Mice and other pointing devices > select HID-compliant mouse > right-click Disable.

- Download and install Logitech Unifying Software.
- Once installed, right-click on its shortcut and run it as an administrator
- This will give the software permission to install the required drivers and detect the receiver as soon as you plug it in.
It is a basic practice you can try if the receiver is not working. However, updating the drivers is the best way to handle such an error. Take a look at the next technique to learn how to fix Logitech unifying receiver not detected guaranteed.
Also Read: 5 Fixes to Resolve HID-Compliant Touch Screen Not Showing Error [WORKING]
Method 3 – Update USB Drivers
Update Using Device Manager
You can update all drivers using the Device Manager tool. Here is what you need to do.
- Press Win + X to open the Power menu.
- Click on Device Manager and the tool window will open.

- Among the list of drivers, click on Universal Serial Bus Controllers to expand the view.
- Right click on every item on the USB list and choose Update Driver option.
- Follow the steps on screen.
- After all the updates have been completed, reboot your PC.
Update Drivers Using Advanced Driver Updater
If the above technique seems like a lot of work, you can install one of the most trusted and recommended driver updater applications, Advanced Driver Updater.
It is easy to use, 100% secure, and provides the latest updates to your PC drivers. There are only 5 steps you need to finish, and all your errors are handled. Here’s how the tool works –
- Download the setup for Advanced Driver Updater from the link below and install it on your PC.

- Run the application to initiate the search for all the required drivers.

- Click on Start Scan Now to initiate the preliminary scan that will help you understand exactly what device drivers are missing from your PC and which ones require updating.

- The scan will search for your keyboards, mouse drivers, and unifying receiver drivers. If either of them is causing the issue, it will be resolved.

- Once the scan is over, you will find a list of outdated drivers, click on update all and let the software find, download, and install the latest updates on your PC, all with just one click.
Let the process complete. The entire time depends on how many drivers the software is supposed to download and update. After all the drivers are updated, the PC will give you a prompt. Restart your PC system, and you are good to go.
Method 4 – Update Windows PC
Windows Updates help resolve many minor issues on your PC. It is recommended by many experts to keep your Windows updated at all times. Here are the steps.
- Press Windows + I to open the Settings.
- Click on Update & Security option.

- Click on the Check for Updates button.

- Windows will present a list of pending updates.
- Click on the Download & Install button and your PC will automatically download and install updates on your PC.
- Reboot your PC after the update process is completed.
Read Also : Fix “0x80070643” Windows Update or Installation Errors
Method 5 – Uninstall Problematic Apps
Some experts have reported on forums that there are certain apps that conflict with the Logitech software and one of them is MotionInJoy. Here are the steps to remove this append fix issues like the Device driver software was not successfully installed.
- Press Windows key and type “Add or Remove Programs”.
- Click on the result under Best Match with the same name.

- A new window will open with a list of installed apps on your PC.

- Locate MotionInJoy Gamepad tool, click on it, and choose Uninstall.
- Follow the onscreen instructions to remove the app.
- Next, press Win + R to open the RUN dialog box and type “Regedit”

- Click on the OK button to open the Windows Registry.
- Once the Registry Window opens, press Ctrl + F to open the Search box and type “DS3”.

- Delete all the DS3 files including DS3.exe.
- Remove the Logitech Receiver and restart your PC.
- Plug in the receiver and update Windows as explained above to check if it has been detected successfully.
Conclusion
This brings us to the end of this blog. If the techniques shown do not work, there are chances that you may have a hardware issue. Ensure you reach out to the Logitech support website to list your issue.
Advanced Driver Updater is the best way to resolve your driver-related problems easily, so make sure you install it on your PC, as it can also fix other issues. Do not forget to leave your comments about what worked the best for you in the comments section below; catch you in the next one!
Recommended-
How To Fix “Please Wait While Windows Install A System Update” Error
Stuck on Pending? Here’s How to Fix Windows Updates Not Installing or Downloading


Thanks, this Advanced Driver Updater saved my life. Driver Booster destroyed the drivers of my pc. Now the Unifying is working again. 🙂
Dear Francisco,
We are glad to hear that your problem is fixed.
Thanks and Regards